METHODS OF PREPARING FOSSILS
Learn the techniques for preparing microfossils for study, including sampling, processing, and analysis.
0
54
Methods of Preparing Microfossils
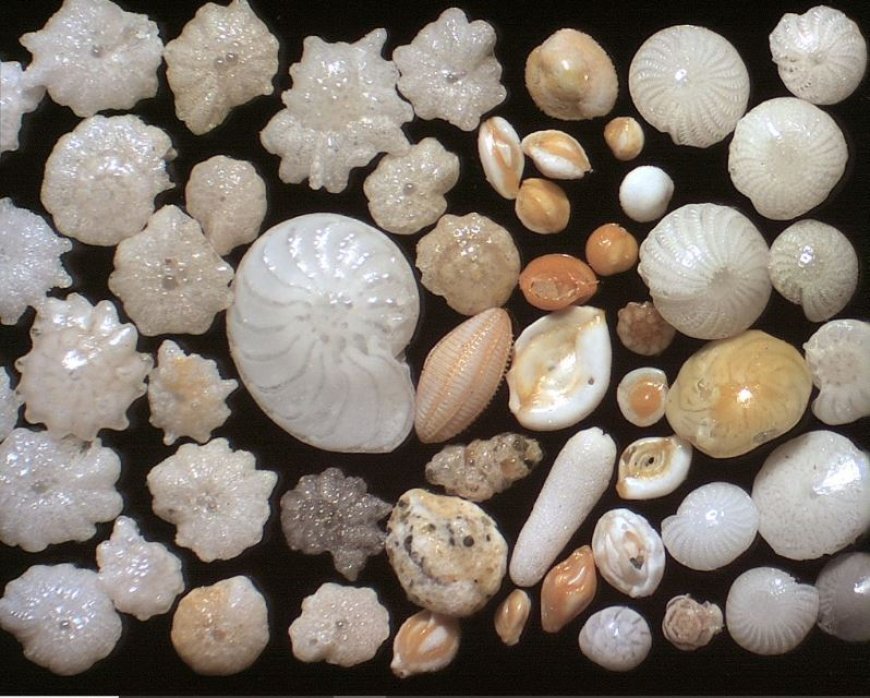
- Microfossils are small relics of ancient creatures that scientists use to better comprehend Earth's past.
- Foraminifera, diatoms, pollen, and spores all produce these microscopic fossils, which are typically less than one millimeter in size.
- Palaeontology and geology rely heavily on the collection and preparation of microfossils.
1. Collection of samples
- The initial stage in preparing microfossils is to gather samples from sedimentary rock, soil, or other geological deposits.
- Scientists typically search for locations such as riverbanks.
- Lakes, ocean floors, and cliffs.
- Geologists use shovels, picks, and brushes to carefully collect samples in order to avoid destroying possible microfossils.
2. Drying the samples
- Once the samples have been gathered, they must be dried. Moisture can induce deterioration and make it harder to identify fossils. This is how you do it:
- Spread samples on a clean surface, such as a tray.
- Store them in a warm, dry area for several hours or overnight.
- This drying procedure helps to eliminate any surplus moisture.
3. Sieving
- Next, the researchers use a filter to remove the microscopic microfossils from the larger silt.
- A sieve is a mesh or net with pores that enable small particles to flow through while excluding bigger things.
- Select the appropriate mesh size: choose a sieve with small enough pores to collect microfossils yet large enough to allow sediment to pass through.
- Shake the sieve to separate the items efficiently.
4. Washing the samples
- After sieving, the samples must be thoroughly cleaned to eliminate any leftover dirt or organic waste.
How to Wash Microfossil Samples:
- Place the sieve contents in a water-filled container.
- Gently mix the sample with a brush or your hands to loosen any dirt.
- Rinse samples with clean water until they seem clean.
5. Preparation using Chemical Methods
- To better prepare samples, scientists may apply chemical treatments.
Common compounds are:
- HCl is used to dissolve carbonates and improve the visibility of fossils.
- Hydrogen peroxide (H2O2) may remove organic debris and black stains on fossils.
6. Microscopic Examination
- After washing the samples, investigators examine them under a microscope. This procedure aids in the identification of the microfossils present.
- Here's what occurs:.
- A small portion of the material should be placed on a slide. A slide is a flat sheet of glass that holds samples for viewing.
- Use a microscope: A trained eye will seek out certain forms and patterns to distinguish between different types of microfossils.
7. Photographic documentation
- Taking photos of microfossils is an important step in the preparation process.
- High-quality photographs enable researchers to document their findings, share them with others, and serve as a reference for future investigations.
8. Storage and curation
- To minimize deterioration, microfossils must be appropriately preserved after preparation.
Here are some storage tips:
- Use labeled containers. Keep each sample separate and labeled with the location, date, and kind of microfossils found.
- Store in a cool, dry location. This helps protect the fossils from decaying or deteriorating.